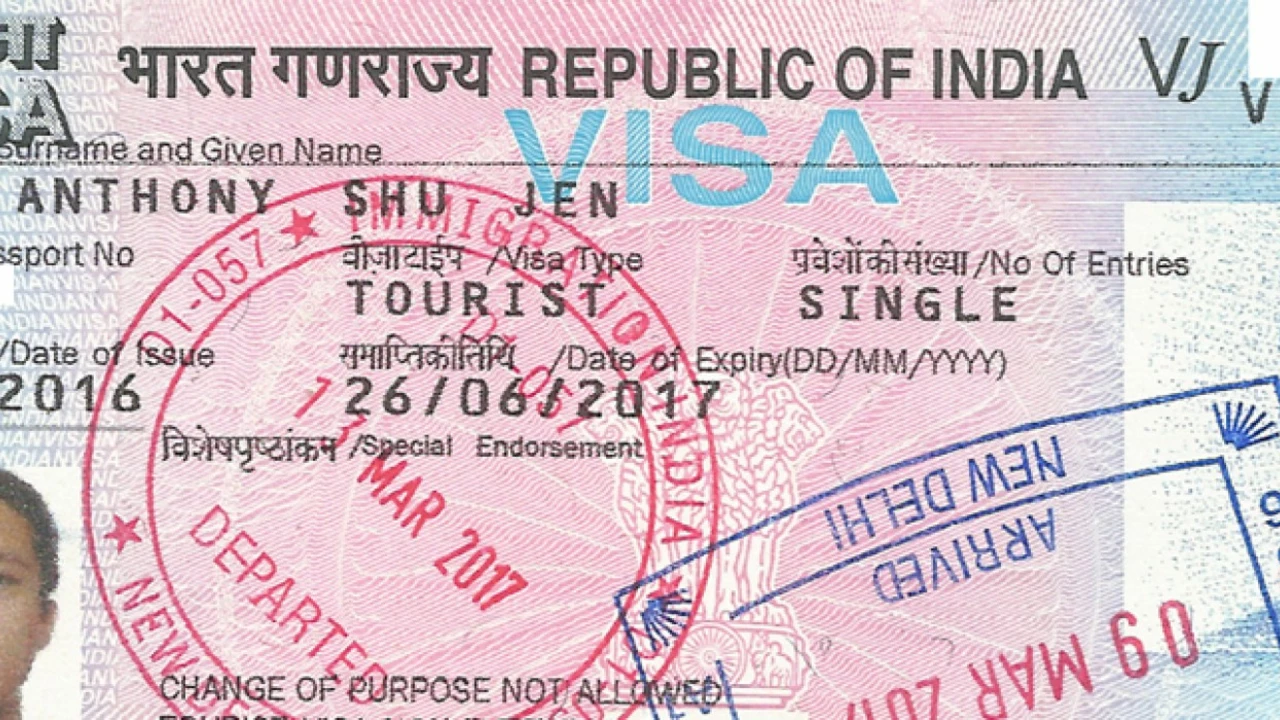
Hello there! If you're an Indian citizen in Singapore seeking to apply for a Police Clearance Certificate (PCC), you've landed at the right place. In this article, I'll guide you through the whole application process. We will cover important points ranging from where and when to apply, what documents are needed, to how long the process takes. It's my aim to make your PCC application as smooth and hassle-free as possible.
Immigration Services – Your Quick Start Guide
Thinking about moving to a new country? You’re not alone. Millions of people chase better jobs, education, or a fresh start every year. The biggest hurdle is usually the paperwork. That’s where immigration services come in – they help you cut through the red tape and keep the process smooth.
In this guide we’ll walk through the most common services you’ll need: visa applications, work permits, student permits, and passport clearances. You’ll see what documents are required, how long each step takes, and where to get help if you get stuck. No jargon, just plain advice you can act on right now.
What Immigration Services Actually Do
Think of immigration services as your personal assistant for government forms. They check that your paperwork is complete, submit applications on your behalf, and follow up with the authorities. Some firms also offer translation, legal advice, and interview coaching. The goal is simple – get your visa or permit approved without unnecessary delays.
Most people start with a visa assessment. The service provider looks at your profile – job offer, education, family ties – and tells you which visa category fits best. This saves you from applying for the wrong type, which can waste months of time and money.
Step‑by‑Step Checklist for Common Applications
1. Gather your documents. Typical items include a valid passport, recent photos, proof of employment or enrollment, financial statements, and any required certificates. Keep everything digital; a scanned folder makes sharing easy.
2. Fill out the application form. Most countries now use online portals. Double‑check every field – a small typo can cause a rejection. If you’re unsure, ask the service provider to review it before you submit.
3. Pay the fees. Fees vary by visa type and country. Some services bundle the cost with their own charge, so you know the total upfront.
4. Submit and track. After submission, you’ll receive a reference number. Use it to track progress on the immigration website or through your service’s dashboard.
5. Prepare for interviews or medical exams. Certain visas require a face‑to‑face interview or a health check. The service will tell you exactly what to bring and how to book appointments.
Follow these steps and you’ll avoid the most common pitfalls. If a request for additional information (RFI) shows up, respond quickly – usually within 10 days – to keep the timeline moving.
One real‑world tip: always keep a backup copy of every document you send. It’s easy to misplace a file when you’re juggling multiple applications, and having a copy ready can save you hours of back‑and‑forth.
When you choose an immigration service, look for clear pricing, good reviews, and a transparent process. A reliable provider will explain each fee, outline the timeline, and give you a point of contact for updates.
Remember, the biggest factor in a successful application is accuracy. Take the time to double‑check forms, follow the checklist, and stay in touch with your service provider. With the right help, moving to a new country can feel less like a paperwork nightmare and more like an exciting next chapter.
Ready to start? Grab your passport, list your documents, and reach out to a trusted immigration service today. The sooner you begin, the sooner you’ll be on your way to the life you’ve imagined.
