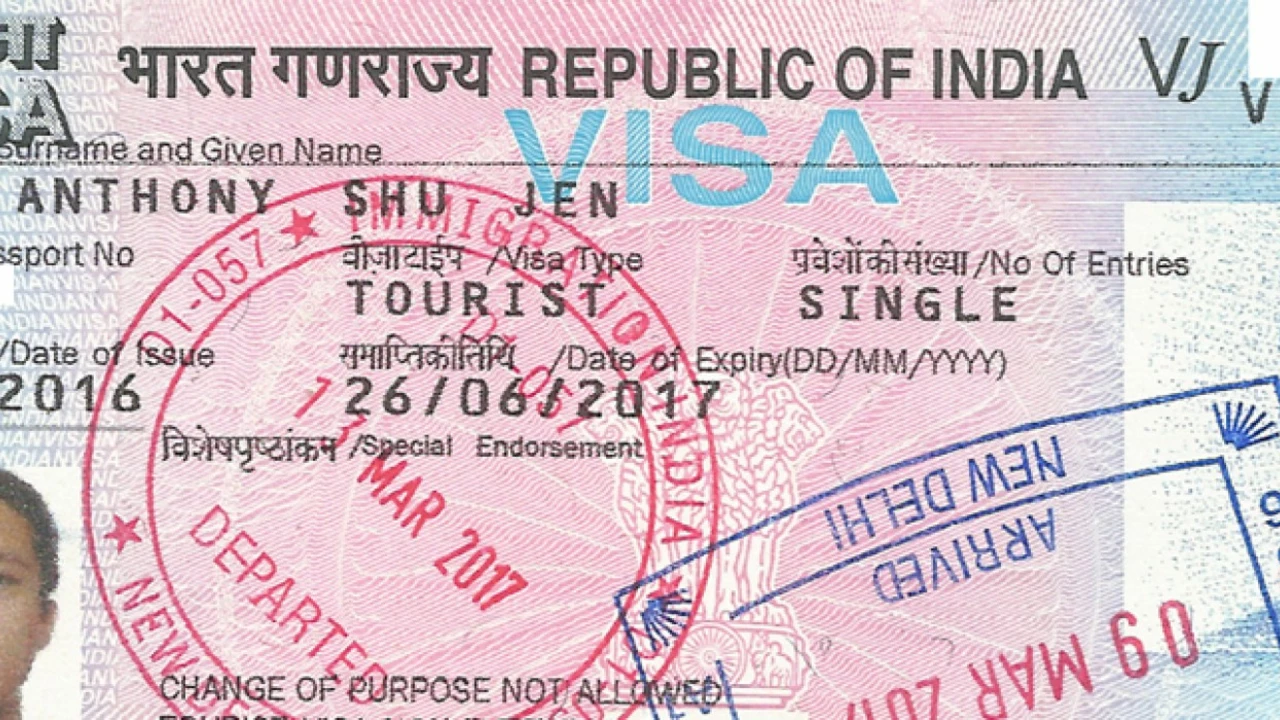
Hello there! If you're an Indian citizen in Singapore seeking to apply for a Police Clearance Certificate (PCC), you've landed at the right place. In this article, I'll guide you through the whole application process. We will cover important points ranging from where and when to apply, what documents are needed, to how long the process takes. It's my aim to make your PCC application as smooth and hassle-free as possible.
Application Process: A Simple Step‑by‑Step Guide
Feeling stuck before you hit that submit button? You’re not alone. Most people get nervous about applications — whether it’s a job, a college, or a grant. The good news? The process follows a few easy rules. Follow this guide and turn that anxiety into a confident click.
1. Gather What You Need First
The biggest time‑waster is searching for documents at the last minute. Make a list of the usual items: resume or CV, cover letter, transcripts, certificates, and any reference letters. Put each file in a dedicated folder on your computer and name them clearly, like Resume_JohnDoe.pdf. That way you won’t scramble when the portal asks for a PDF.
If the application asks for a personal statement, write a rough draft early. Keep it under 500 words, focus on three things – who you are, why you’re a good fit, and what you hope to achieve. Ask a friend to read it, then tighten the language. Remember, clarity beats fancy words every time.
2. Fill Out the Form Carefully
Most online forms are straightforward, but a few tricks save headaches. Double‑check that your name matches the ID you’ll present later. Use the same email address across the whole application; recruiters often filter by email domains.
When you see “optional” fields, treat them like a free space to showcase a skill or an experience. Even a short sentence can set you apart. For dates, follow the format the form uses (MM/DD/YYYY vs. DD/MM/YYYY) – a simple mistake can reject an otherwise perfect application.
Before you hit submit, run a final scan. Look for common errors: missing commas in phone numbers, mismatched zip codes, or a photo that’s too large. Some sites let you preview the whole form; use that feature.
3. Submit and Keep Proof
After you click submit, the system usually sends a confirmation email. Save that email in a folder named “Applications” and note the reference number if there’s one. That number is useful when you call for status updates.
If the portal offers a PDF receipt, download it. Having a hard copy can protect you if the system glitches later.
4. Follow Up the Right Way
Patience is key, but a polite follow‑up shows interest. Wait about a week after the deadline, then send a short email: thank them for considering your application, restate your enthusiasm, and ask if any more information is needed.
Keep a spreadsheet with columns for the organization, position, date applied, deadline, and follow‑up status. Updating it each week helps you stay organized and avoids duplicate applications.
And that’s it – a clear path from preparation to follow‑up. Treat each step like a small task, and the whole process stops feeling overwhelming. Good luck, and remember to hit that submit button with confidence!
